
When you add an IMAP, Exchange, Outlook.com, or Microsoft 365 (formerly Office 365) email account in MS Outlook, a local offline storage table or OST file is created in a default location. OST, also known as Outlook Offline Data File or Outlook Cache File, stores a synchronized copy of all your mail items such as emails, contacts, calendars, attachments, etc., on your local storage. Allows users to access their mail items even when the system is offline or not connected to the server.
It is not recommended to delete the default OST file as it may have serious impact and lead to data loss. But sometimes it is unavoidable to delete the OST file. Below are some common reasons that may force you to delete or delete the default OST file from your system to recreate or rebuild a new one.
- Outlook slowdown or performance issue
- Slow search results
- Delay in sending or receiving emails
- Emails stuck in Outbox folder
- Outdated inbox folder
- Synchronization problems
In this article, you will learn how to safely delete the default OST file from your system to recreate a new one in Outlook client on Windows.
Steps to Safely Delete Outlook Default OST File
Follow the steps below in the order given to remove the default OST file from your system without any risk of data loss.
Step 1: Locate the OST File
The default OST file is located in the %LocalAppData% folder location. To locate the default OST, follow these instructions:
- Press Windows + R, type %LocalAppData%\Microsoft\Outlook and press the Enter key.
- This will open the location where the default OST files are stored.
Alternatively, you can open Control Panel, find and click Mail > Data Files.
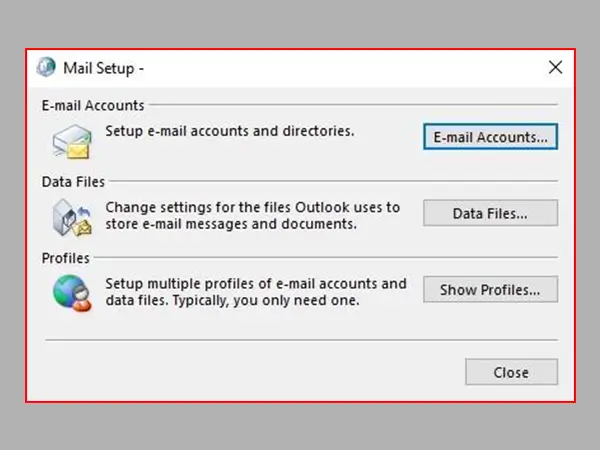
This helps you locate the OST file when you cannot access Outlook options.
If you cannot find your OST file in this location, the administrator or user could customize it using Group Policies (GPO) or manually using registry keys, or while setting up the account. In this case, follow these steps:
- Open Outlook and right-click your profile name in the left pane.
- Choose Open file location.
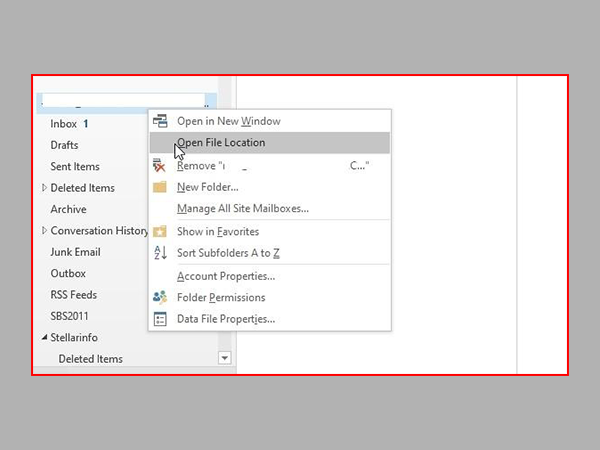
- This will open a new File Explorer window showing the default location of the OST file.
Step 2 – Backup Default OST File
Before deleting or deleting the default OST file, make a backup copy of the file. This helps avoid losing mail items in case something goes wrong.
To backup the OST file, copy the file to another location. Make sure Outlook is closed when you backup the OST file. Otherwise you may encounter an error.
If you have access to Outlook, you can also use the Outlook Import/Export Wizard to export mail items from the default OST file to Outlook-compatible PST format. Follow these steps:
- In Outlook, go to File > Import and Export > Import/Export.
- Choose Export to a file and click Next.
- Choose Outlook Data File (.pst) and click Next.
- Choose the mail folders to export to PST and click Next.
- Click Browse to choose a save location and click Finish.
- Enter a password or click OK to save or export mail items from OST to PST.
Step 3 – Delete Default OST File
Once you have created a backup of your default OST file, you can delete it from the location. To do this, you must close Outlook and make any of the following changes to delete and recreate a new OST:
- Delete OST file
- Move (cut/paste) the OST file to another location
- Change the name of the OST file or its extension
Once you perform these actions and start Outlook, the client will search for the default OST. As you deleted or renamed it, Outlook will create a new OST file in the same location. It will start the synchronization, download all the mail items from the mailbox server and store them in the new OST file.
The newly created OST may not have all mail items or may be missing emails. In such cases, you can use an OST to PST conversion software such as Stellar Converter for OST to convert the backup OST file to Outlook importable PST format and restore missing mail items such as contacts, emails, etc. Use the software to convert and export the OST file directly to an existing Outlook profile, Office 365 mailbox, or Live Exchange server.
Also Read: How to Transfer Emails to Outlook from Any System
Conclusion
You should only delete the default OST file if you encounter errors related to OST or Outlook data files, performance issues, sync errors, etc. That too after creating the backup of the OST file in another location. In this article, we share step-by-step instructions to help you safely delete the default OST file to recreate a new one.
To restore missing mail items, you can use OST to PST conversion tool such as Stellar Converter for OST. It also recovers deleted mail items and exports them from OST to Outlook profile, Office 365 or Live Exchange Server.

Read more Author: Billy Willson Software, applications and gadgets expert
Categories: How to
Source: vtt.edu.vn