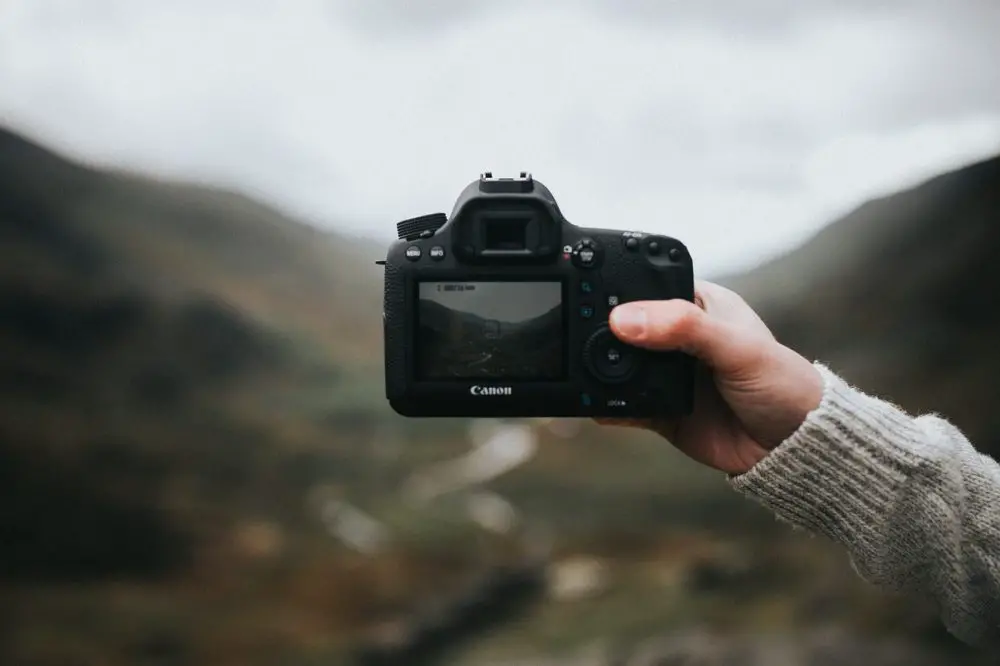
While you may not realize it, Adobe Lightroom is a straight forward process. In fact, it takes just a few minutes to install your desired presets and begin editing your images.
You have several options when using Adobe Lightroom. These include Lightroom, Lightroom Classic, and the free Lightroom mobile app. There are also older versions of Lightroom, which include versions 4, 5, and 6. You will find that Payhip explains this in-depth, but you can find a helpful overview here, as well.
Installing Lightroom Presets in Version 7.3+
If you have Lightroom Classic Version 7.3+, follow these steps to install your presets.
Step 1: Download your Lightroom presets from a premade file. The presets are going to arrive in a .zip file.
Step 2: Navigate to the Develop Module in the Lightroom program and then click the following sequence – File to Import Develop Profiles and Presets.
Step 3: The next step is to navigate to the ZIPPED preset file that has been downloaded. If you have already unzipped this file, you can navigate to the one that is holding your XMP files.
Step 4: At this point, you are done. You can apply these presets in your Preset Panel, which is found on the left side of your screen. You can use the small triangle to open up the folder. To use your preset, simply click on the desired one, and then it will apply.
Installing Lightroom CC Desktop Version
If you use the Lightroom CC Desktop Version, then you will use the following steps to install your presets.
Step 1: Like the steps above, the first step in this version of the program is downloading your Lightroom Presets. They will appear in a .zip file.
Step 2: Open the Lightroom CC software and choose any image.
Step 3: Follow this sequence next – Click File, then Import Profiles, and Presets.
Step 4: The next step in the process is to go to the ZIPPED preset file that you have downloaded. If the files have been downloaded, you can just click on the file holding your XMP files.
Step 5: The last step is applying your Presents. You can do this by accessing your Preset Panel, which in this version is on the right side of your screen. You can then use the small triangle to open up the folder. Click on one of the presets inside the folder to have it apply to the image you are working on.
Photo by Markus Spiske from Pexels
Installing Lightroom 4, 5, 6, or the Classic Version of 7.2 and Earlier
If you are using one of the older versions of Lightroom, don’t worry, that is fine. The process is different, however, based on whether you are using a PC or a MAC. Find each process below.
Apple Urges iPhone, iPad Users to Update Their Devices
Step 1: If you are using a MAC, the first step is to click the Lightroom tab, which is located to the left side of the File option. The next is to click Preferences.
For PC users, navigate to Lightroom and then click the Edit option that is at the top, right next to File. Once open, you can click on Preferences.
Step 2: Once the first step is complete, a new screen will open up, and there will be several tabs at the top of the page. You can click on Presets, which is the second tab.
Step 3: You should click on the box that reads “Show Lightroom Presets Folder” if you use one of the older versions of the software mentioned above. However, if you are using the newer version of the Lightroom Classic, then you should click on the box that reads the “Show All Other Lightroom Presets” option.
Step 4: Double click on the Lightroom option.
Step 5: The next step will be to double click on the tab that reads Develop Presets Folder.
Step 6: Once you have completed the first five steps, you will copy the contents of your presets folder that is found in the download. This should be copied into your Develop Presets folder.
Step 7: The last step of this process is to restart the Lightroom application. Once this is done, you are done. All the presets that you have will be installed and ready to go. If you want to apply them, you should open the Presets panel that is found on the left side of the screen. The smaller triangle can be used for opening the folder. You will have to click on the preset you want to use, located in the folder, to apply it.
 Photo by Terje Sollie from Pexels
Installing Lightroom Presets in the Free Lightroom Mobile App
The free Lightroom Mobile App was first launched in December 2018. Since then, the app has grown in popularity significantly. While it still does not have all the capabilities and functions that the other versions do, it is still a powerful tool that can be used for editing if you are not at your computer.
There is some good news, too. It is possible to install your preset options in your Lightroom Mobile App. The process used for installing presets in the mobile app is a bit more complicated than the methods mentioned above. The process to do this can be found here.
Step 1: Unzip All the Files
When you are using the mobile app, the first step in the process is to unzip your folder that holds the presets that you have downloaded. This is something you must do on the computer. When you are on your PC, you can right-click once on the folder that is zipped and then choose Extract All from the menu. If you are using a Mac, all you have to do is double-click on the file, and the unzipping utility will take care of everything else.
If you have to do this on an iPad or iPhone, you can top on the zipped file to unzip it. For Android devices, download the Files by Google app on your phone.
Step 2: Save Your Presets
If you used your computer to unzip the presets, you must save the preset files on your preferred cloud storage option. This will allow you to access them on your mobile phone. You should also allow access to those files through the cloud storage app on your phone.
If the preset download was unzipped by way of your phone, then you can skip the entire step. Be sure that you know where you have stored the unzipped files on your device or phone.
Step 3: Open Your App
This step is simple and obvious; however, it is essential. Open your app. Once you have opened it, you will be ready to add your Preset files (explained in the next step).
Step 4: Add Your Preset Files
If you are ready to add your preset, you should click the (…) Settings option, which is found in the app’s top-right corner. Once done, you can select the Add Photos option.
When you arrive on the next screen, you will select the location where you will access the Preset files. If you have them saved to your device, you will choose this option. However, if you have them saved in cloud storage, you will choose the from files option. Choose the various files you wish to import.
Step 5: Creating Your Presets
After importing the files, you can click the three dots in the circle located in the right-hand corner. Then choose Create Preset out of the menu. It is a good idea to give the preset a name, and it is recommended to use what is included on the front of the image (this will keep things clear and simple). This is going to make it easy when you are ready to start using the presets.
 Photo by Alexander Dummer from Pexels
Using Adobe Lightroom Presets
When it comes to Adobe Lightroom Presets, the sequence you follow depends on the version you use. Be sure to use the tips and information here to get it right and use all the features offered by this software solution.

Subscribe to Our Latest Newsletter
To Read Our Exclusive Content, Sign up Now. $5/Monthly, $50/Yearly
Categories: Technology
Source: vtt.edu.vn
